Email Reports
Permissions required: Admin
Easily schedule PDF and/or CSV reports of your dashboards to be emailed on a regular basis.
Chartio refreshes your charts before the dashboard report is generated if the cached data is expired or if it is more than 30 minutes old, so your email report always contains the latest data.
Email reports are limited to 25MB in size.
Schedule a Report
Check out our step-by-step video showing how to configure reports in Chartio:
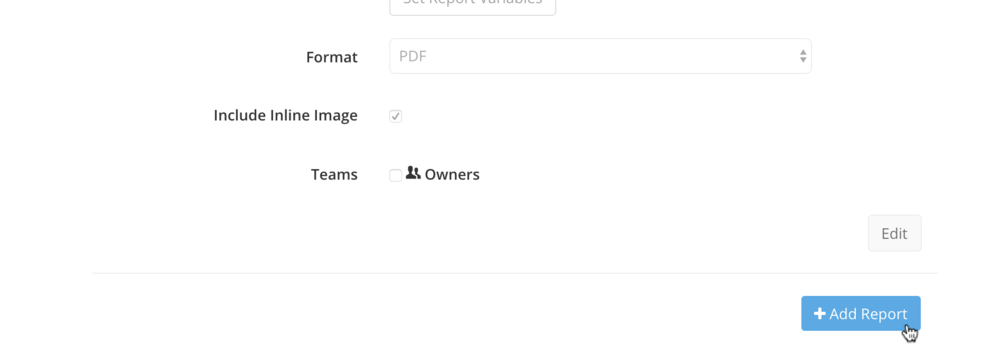
Navigate to a dashboard’s settings page by clicking Settings in its sidebar menu. Select the Report tab and click +Add Report. Add multiple reports to customize the schedule and variable presets for specific groups of users. You may choose to send reports to individual Chartio users, Teams, or non-Chartio users.

Choose the Report Frequency, Report Hour, Report Format, and Report Recipients.
You can also customize the Report Variables if your dashboard contains any Dashboard Controls. This will allow you to apply specific filters to your charts for your report. If you choose CSV for your Report Format, your report email will contain a zip file of CSVs for every chart on the dashboard.
Note: To share with other Chartio users or Teams, add the user or Team to the dashboard in the Access tab, and refresh the page to continue. For non-Chartio users, type the user email address in the report recipients input and press enter.
Click Save to save your changes.
Tip! You can also send scheduled reports to Slack.
Multiple Reports
You may schedule multiple reports per dashboard. To schedule an additional report, simply click the +Add Report button in the Report tab, located below existing reports.

Cancel Reports
If you would like to stop your report from being sent out again, you can simply delete the Report from the Reports tab by clicking the X to the right of the report Name.
Doing this will delete the report and prevent it from being sent out going forward.

Disable Reports
You can disable all reports from being sent out from a certain dashboard without removing the reports altogether. To do this, go to the main Dashboards navigation page and click the ellipsis menu to the right of the dashboard in question. This will open
To do this, go to the main Dashboards navigation page and click the ellipsis menu to the right of the dashboard in question. From the menu options, select Disable reports. You’ll see a pop-up appear on the bottom left of the page notifying you that you have disabled reports for the selected dashboard.

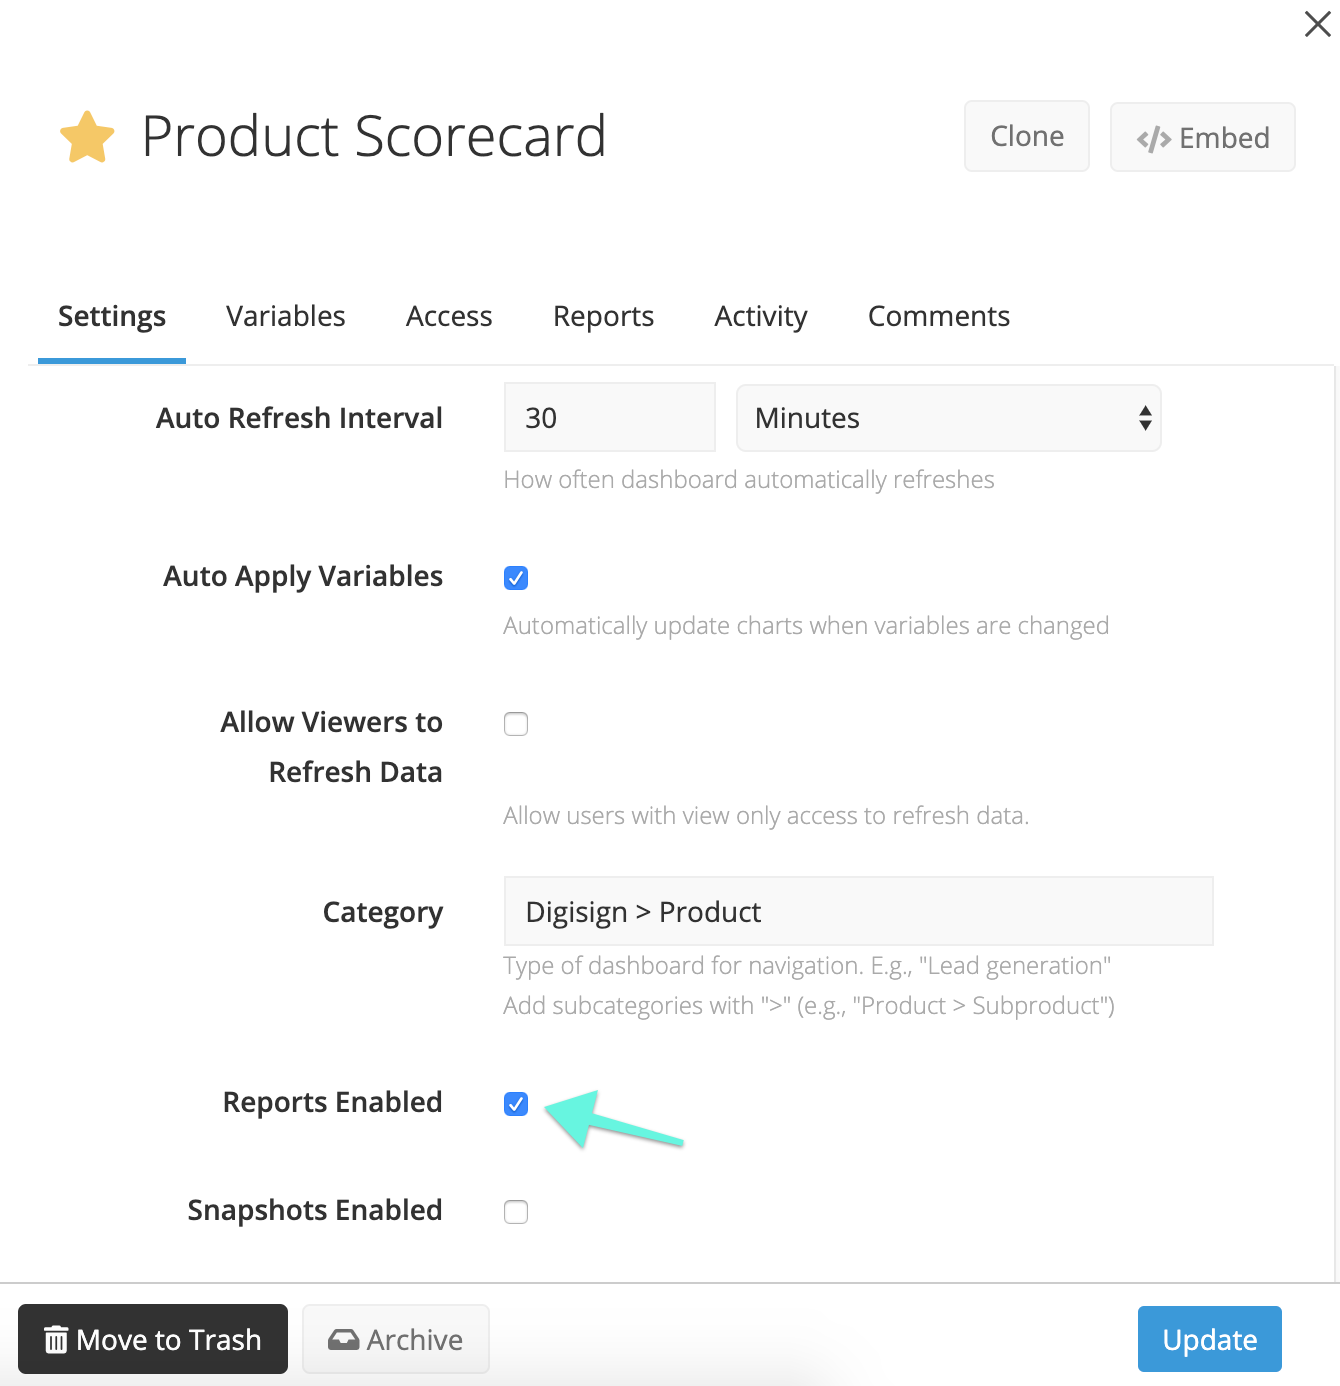
If you’d like to re-enable your reports on a dashboard, open the dashboard’s Settings tab and click on the Reports Enabled checkbox. Click Update to save your changes. Your dashboard reports will now resume automatically being sent out based on their previously set schedules. You’ll now also be able to add additional reports.
