Add a Dashboard
There are a number of ways you can create a new dashboard In Chartio, from creating a new dashboard from scratch or by creating one using an existing chart.
From the landing page
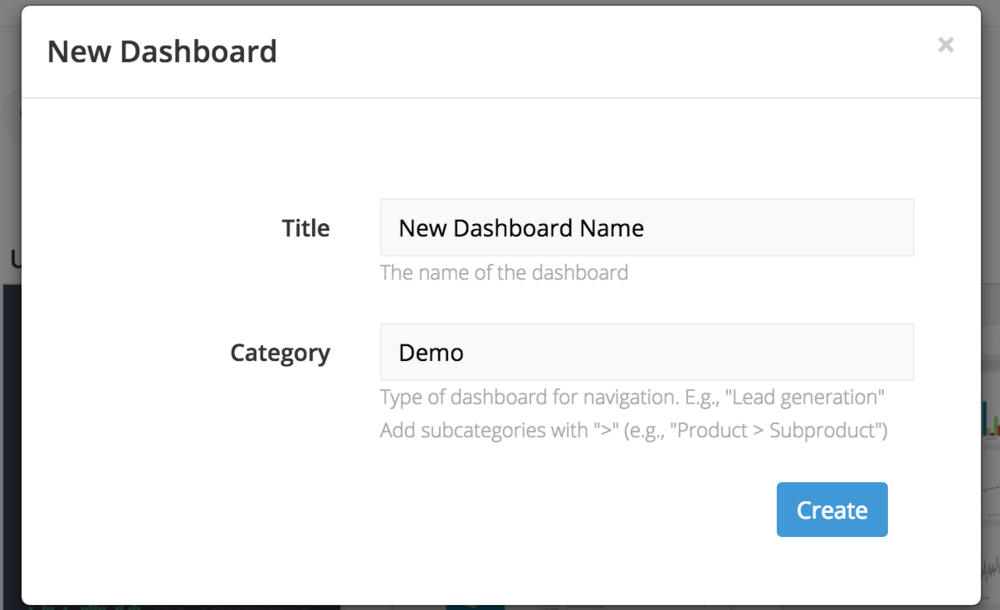
Go to your organization landing page by clicking the Chartio logo in the upper-left corner of the navigation menu or by clicking Dashboards from the same menu. From there, click New Dashboard to create a new dashboard.

You’ll be directed to the New Dashboard form. Title is the only required field, but you may also enter a Category to easily organize your new dashboard.
Click Create when you’re done filling out the information. This will bring you to your new blank dashboard where you’ll start building charts and customizing your dashboard.

From Explore mode
If you’re building an ad hoc chart using the Chart tab and wish to save the resulting chart, you can do so by clicking on the Save to Dashboard button at the top-right of the chart preview.
| In the Visual SQL interface |
|---|
 |
| In the Data Explorer interface |
|---|
 |
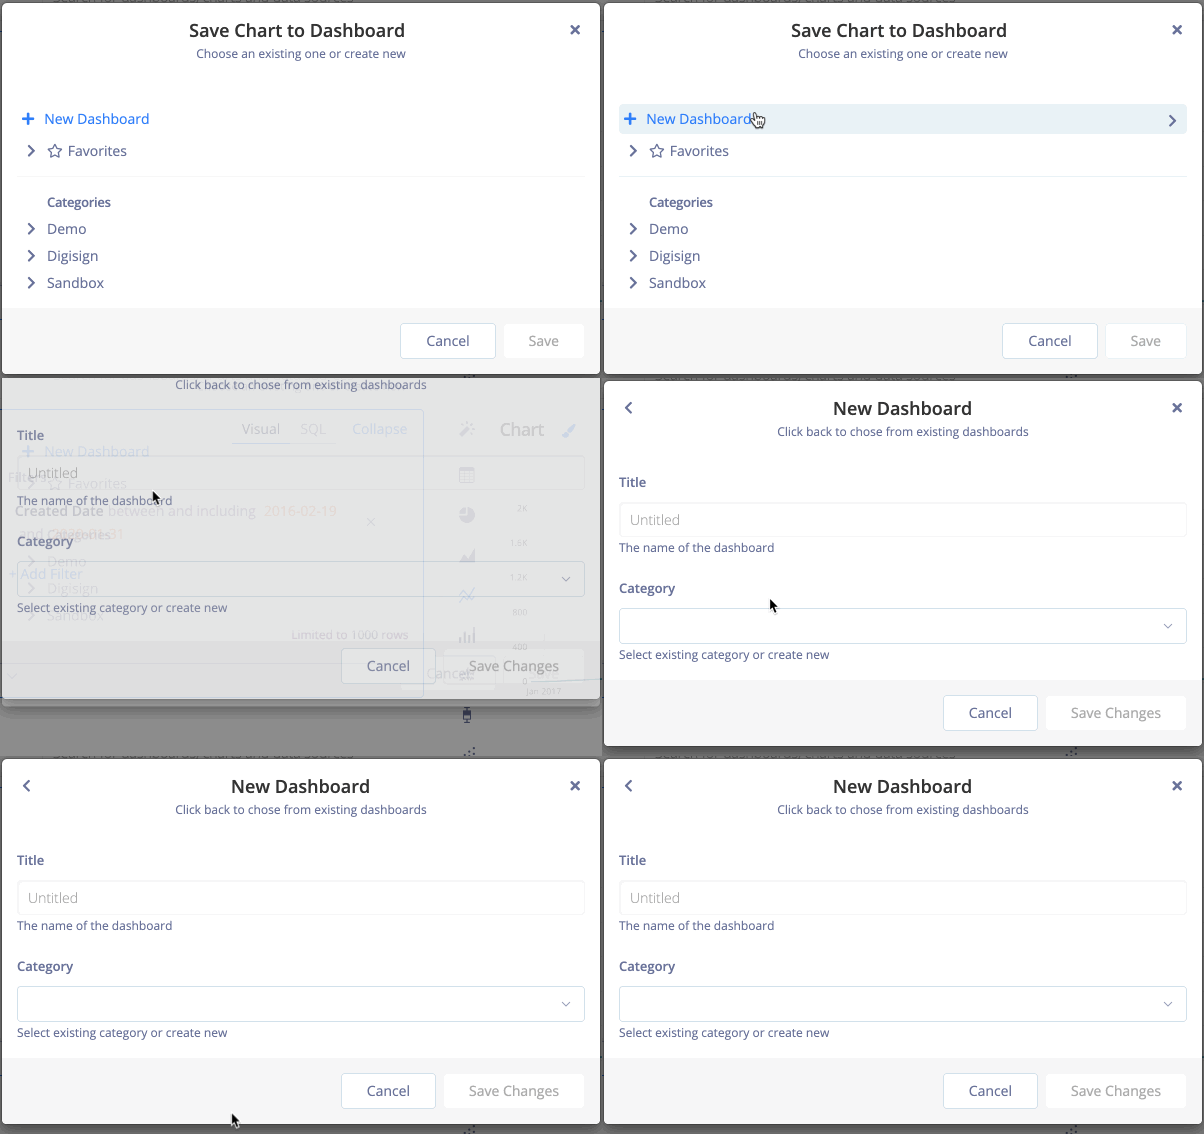
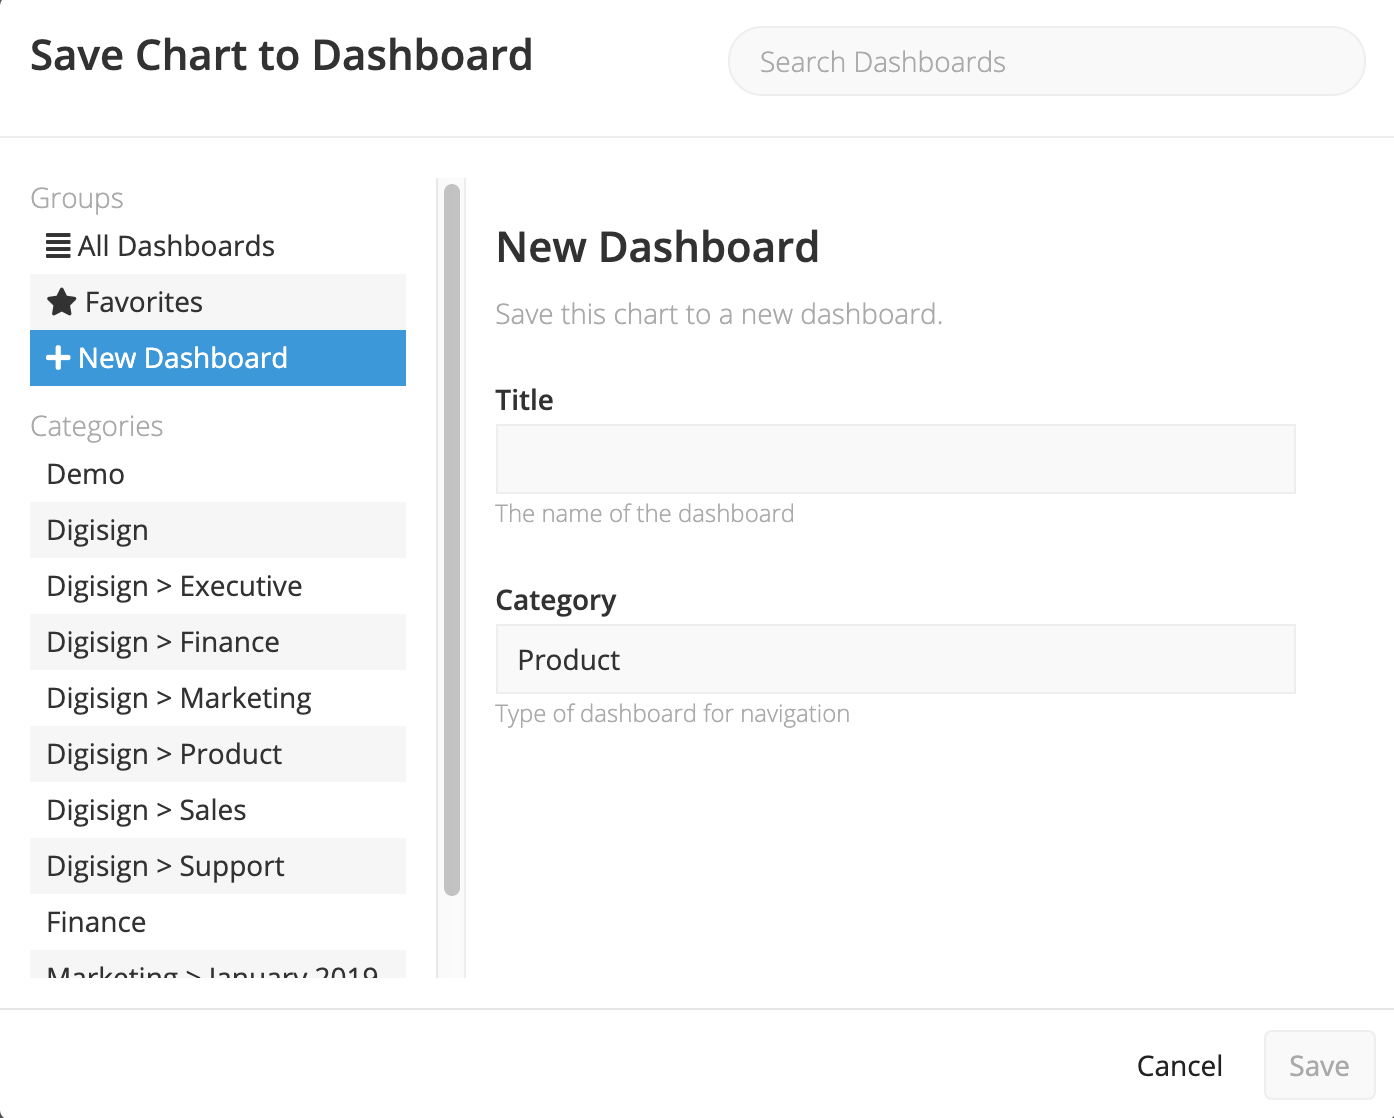
A pop-up will open letting you select an existing dashboard or create a new dashboard where your chart will be saved. To do the latter, click + New Dashboard. You’ll see a form similar to the one that appears when you add a new dashboard from the landing page.
| In the Visual SQL interface |
|---|
 |
| In the Data Explorer interface |
|---|
 |
Fill out the form and click Save. This will take you to your new dashboard with your saved chart which can be placed where needed.
When cloning or moving a chart
You can also create a new dashboard when cloning or moving a chart from an existing dashboard.
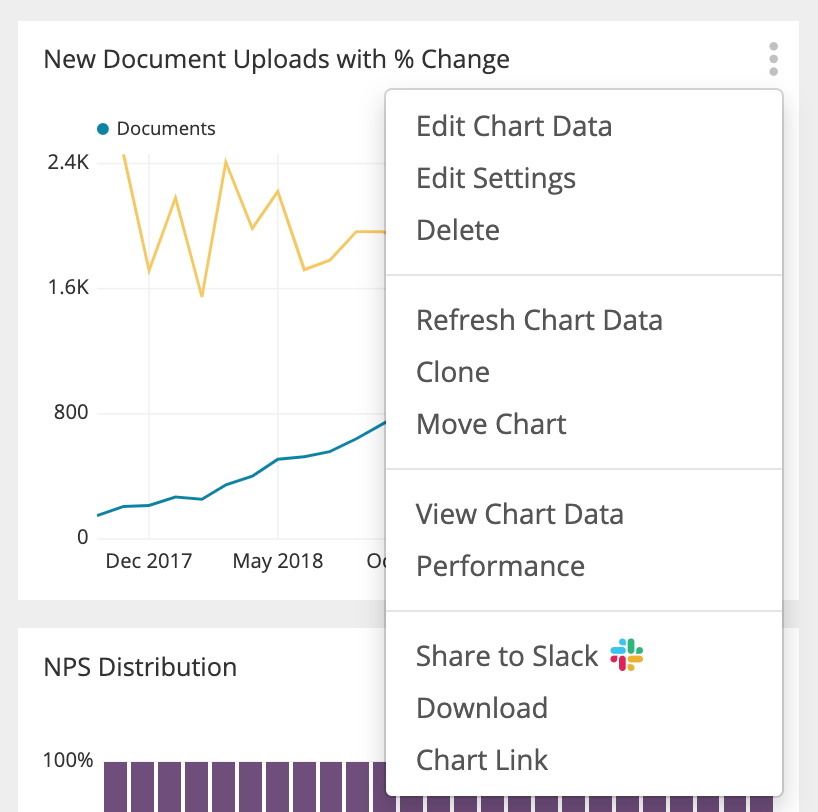
To do this, either select Clone or Move Chart from any chart’s ellipsis menu options. You’ll be brought to the same pop-up form as if saving a chart from Explore mode, where you’ll be able to create a new dashboard.
Fill out the form and click Save to clone or move your chart to your new dashboard.
