Import your data using Stitch and Panoply
How do you connect your cloud application and databases to Chartio? One way to do this is to extract the data and load it into a data warehouse using an ETL tool.
Not sure where to start? Set up a Stitch account to replicate your data, then load your data into Panoply, which hosts your data in a Redshift instance. Once your data is imported to Panoply, you can connect your data into Chartio in just a few clicks.
In this tutorial, we’ll walk through the process of connecting your data to Stitch, Panoply, and Chartio.
Check out our video showing how to connect your data to Chartio using Stitch and Panoply:
Create an account with Stitch
Stitch is a cloud-based, ETL data pipeline. ETL is short for extract, transform, load, which are the steps in a process that pulls data from a data source into a different data warehouse.
Once you’ve signed up with Stitch and signed in to your account, you’ll be directed to the Stitch dashboard.

Add and configure your integration in Stitch
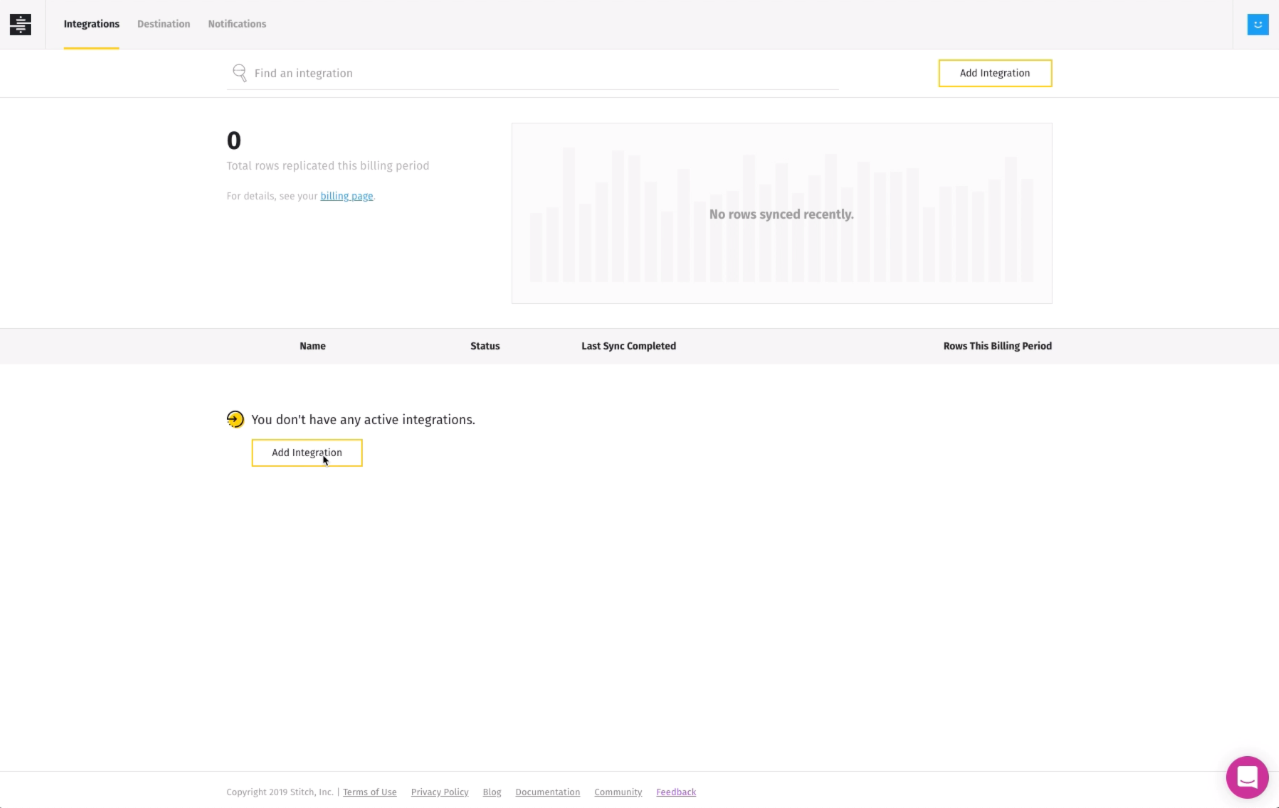
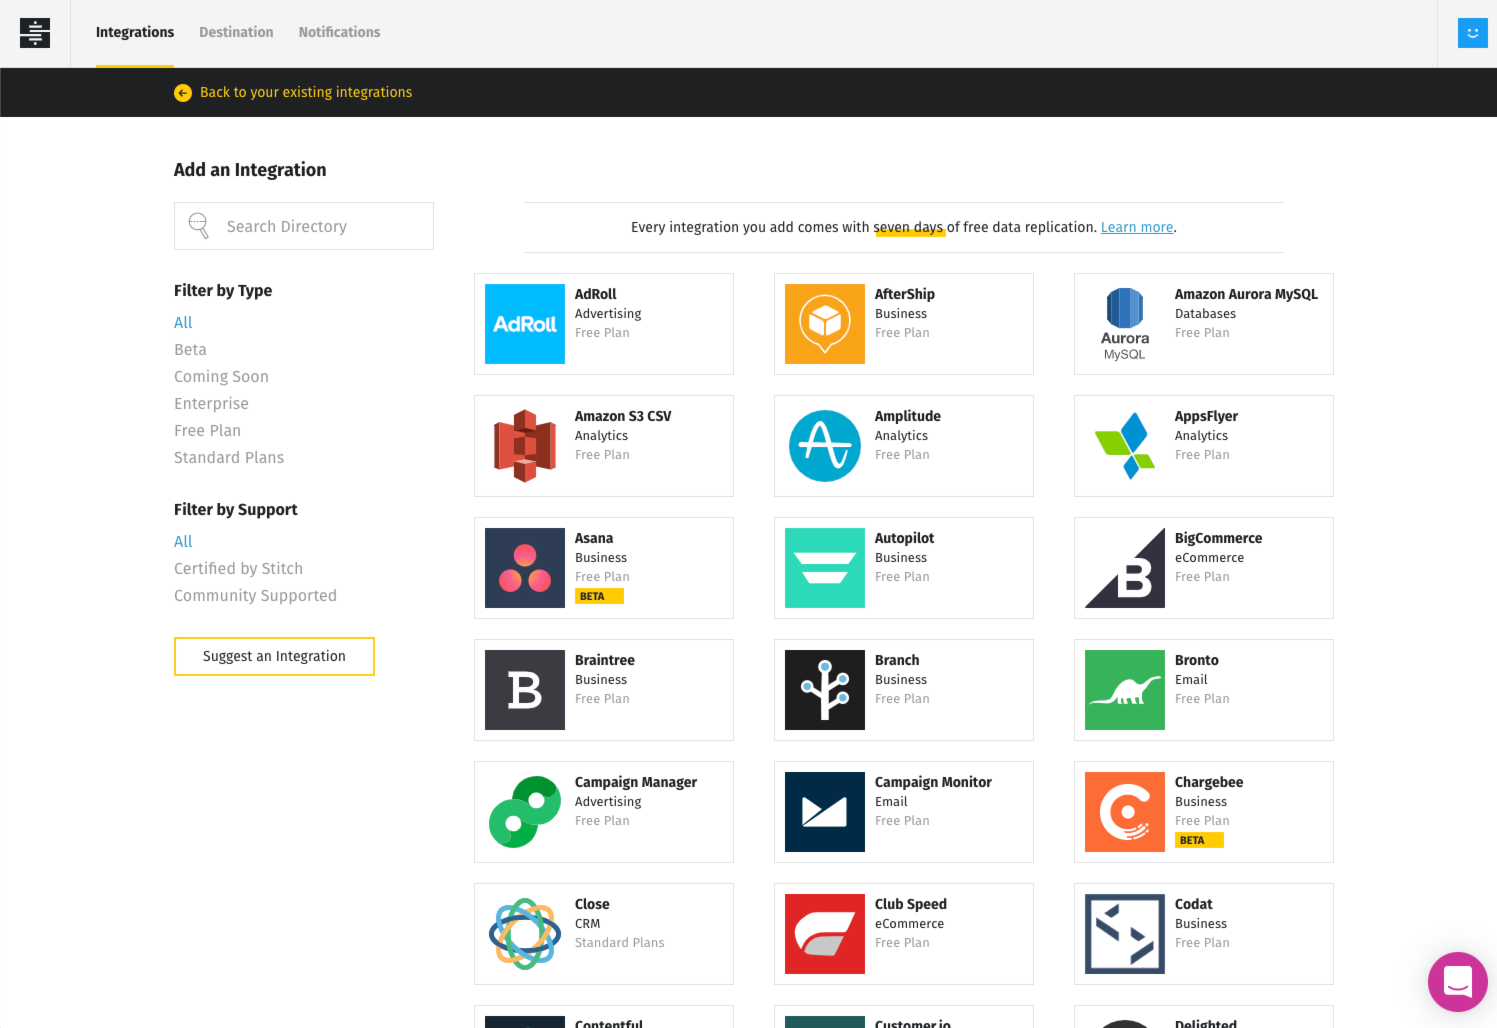
On your dashboard, click on ‘Add Integration’. You will be led to a page displaying all of the cloud integrations supported in Stitch. In this example, we’ll connect a Salesforce Sandbox integration to Stitch. Other integrations will follow a similar process.
Before connecting your Salesforce integration, you must first verify your API access by doing the following:
- To verify your API access, you will need to set trusted IPs in Salesforce. To use Stitch’s Salesforce integration, your Salesforce account must have Web Service API access enabled.
- Depending on how your Salesforce instance is set up, you may also need to allow Stitch’s IP addresses. In Salesforce, this is referred to as “setting trusted IPs”.
Complete these steps before proceeding with the rest of the setup to avoid encountering any connection issues.
After setting up the configuration as you need in Salesforce, head back to Stitch and click on the Salesforce integration. You will then be directed to a screen asking for authorization to your Salesforce account. Click the ‘Authorize’ button to proceed.
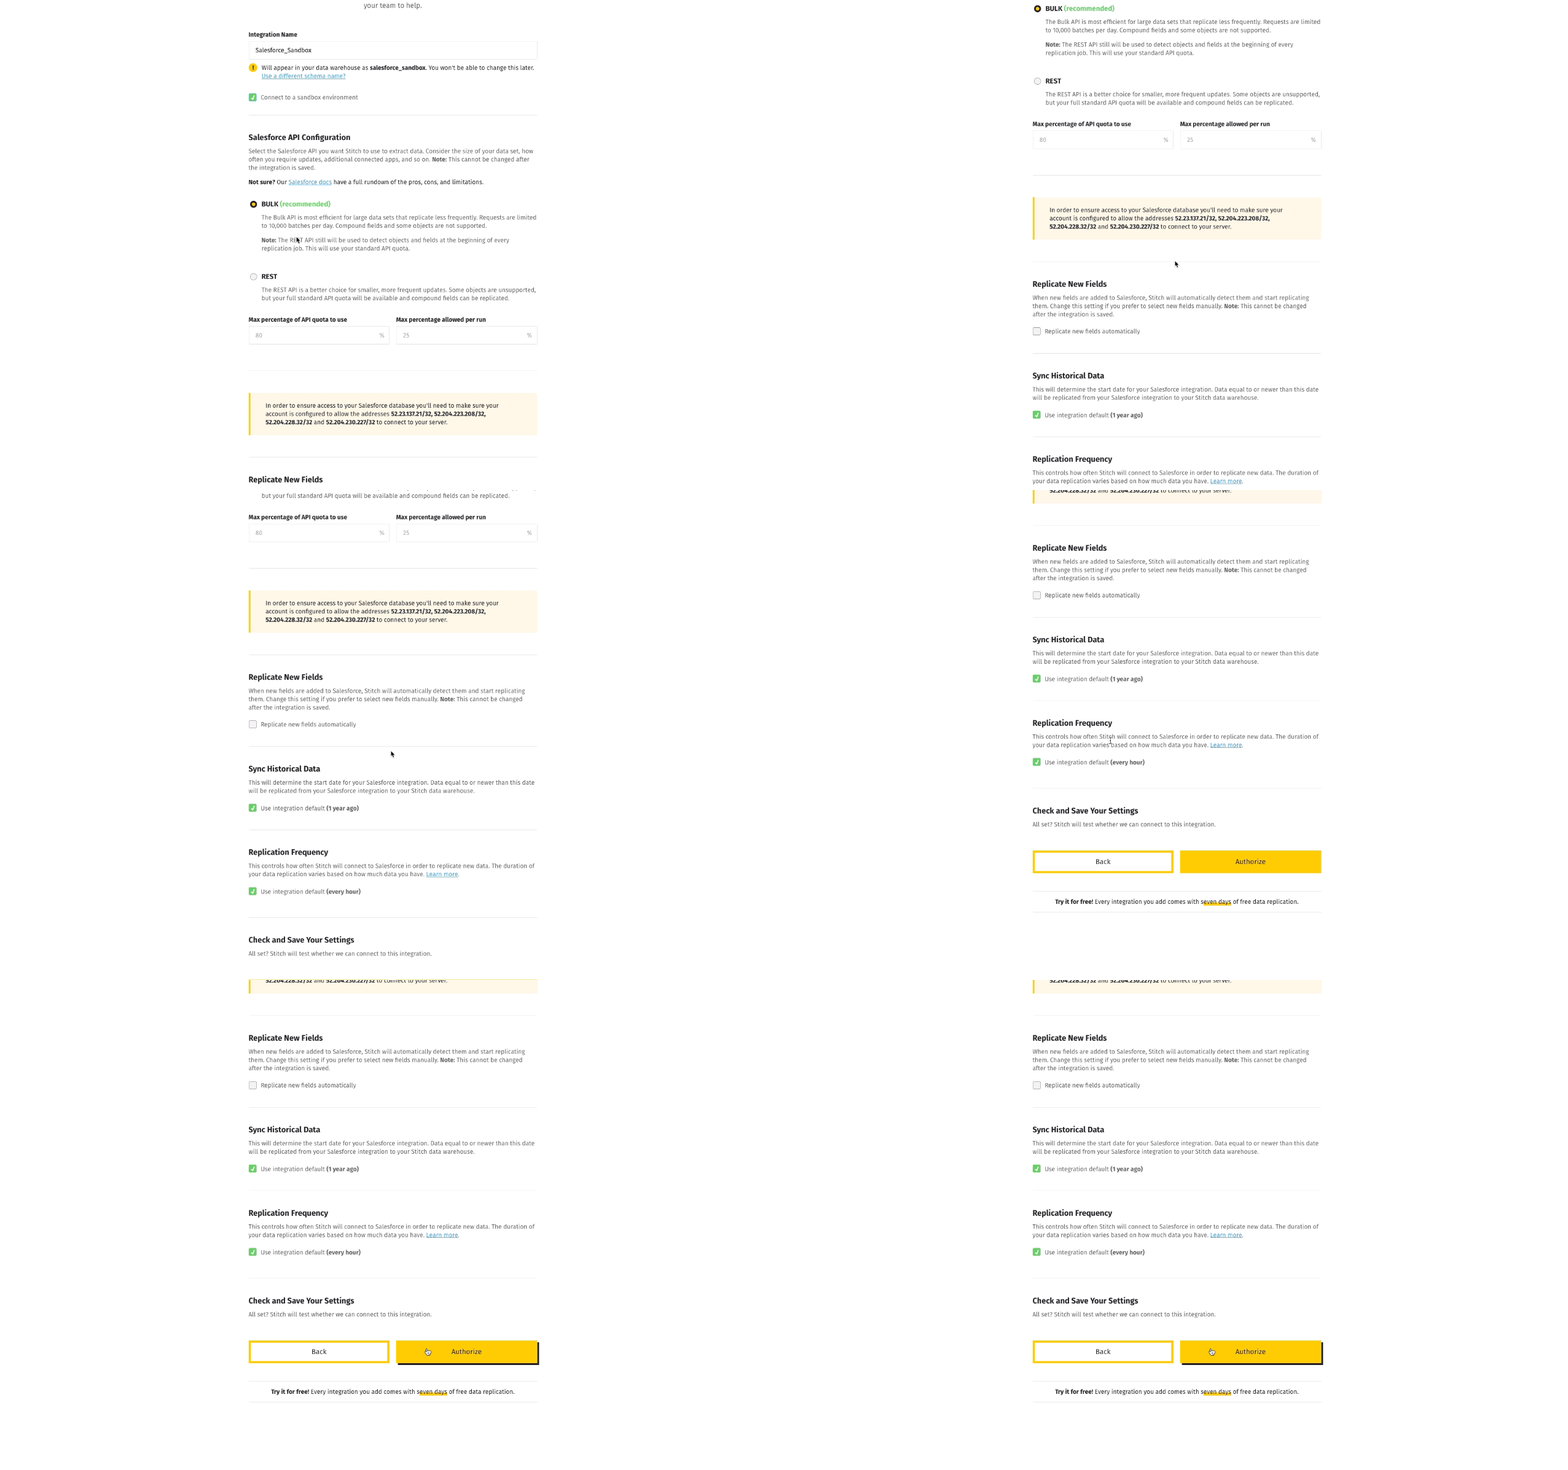
Stitch will then test your connection (this will take a few minutes to complete), and when successful, you will be redirected back to Stitch.
Choose tables and columns to replicate from your integration
Next, select the tables from your integration you want to load into Stitch.
What does this mean? You are allowing Stitch to first extract your data, then replicate it from your data source, then load it into a data warehouse.
From the top menu of your integration page, click on the ‘Tables to Replicate’ tab. You can then choose the tables and columns you want to replicate to your data warehouse.
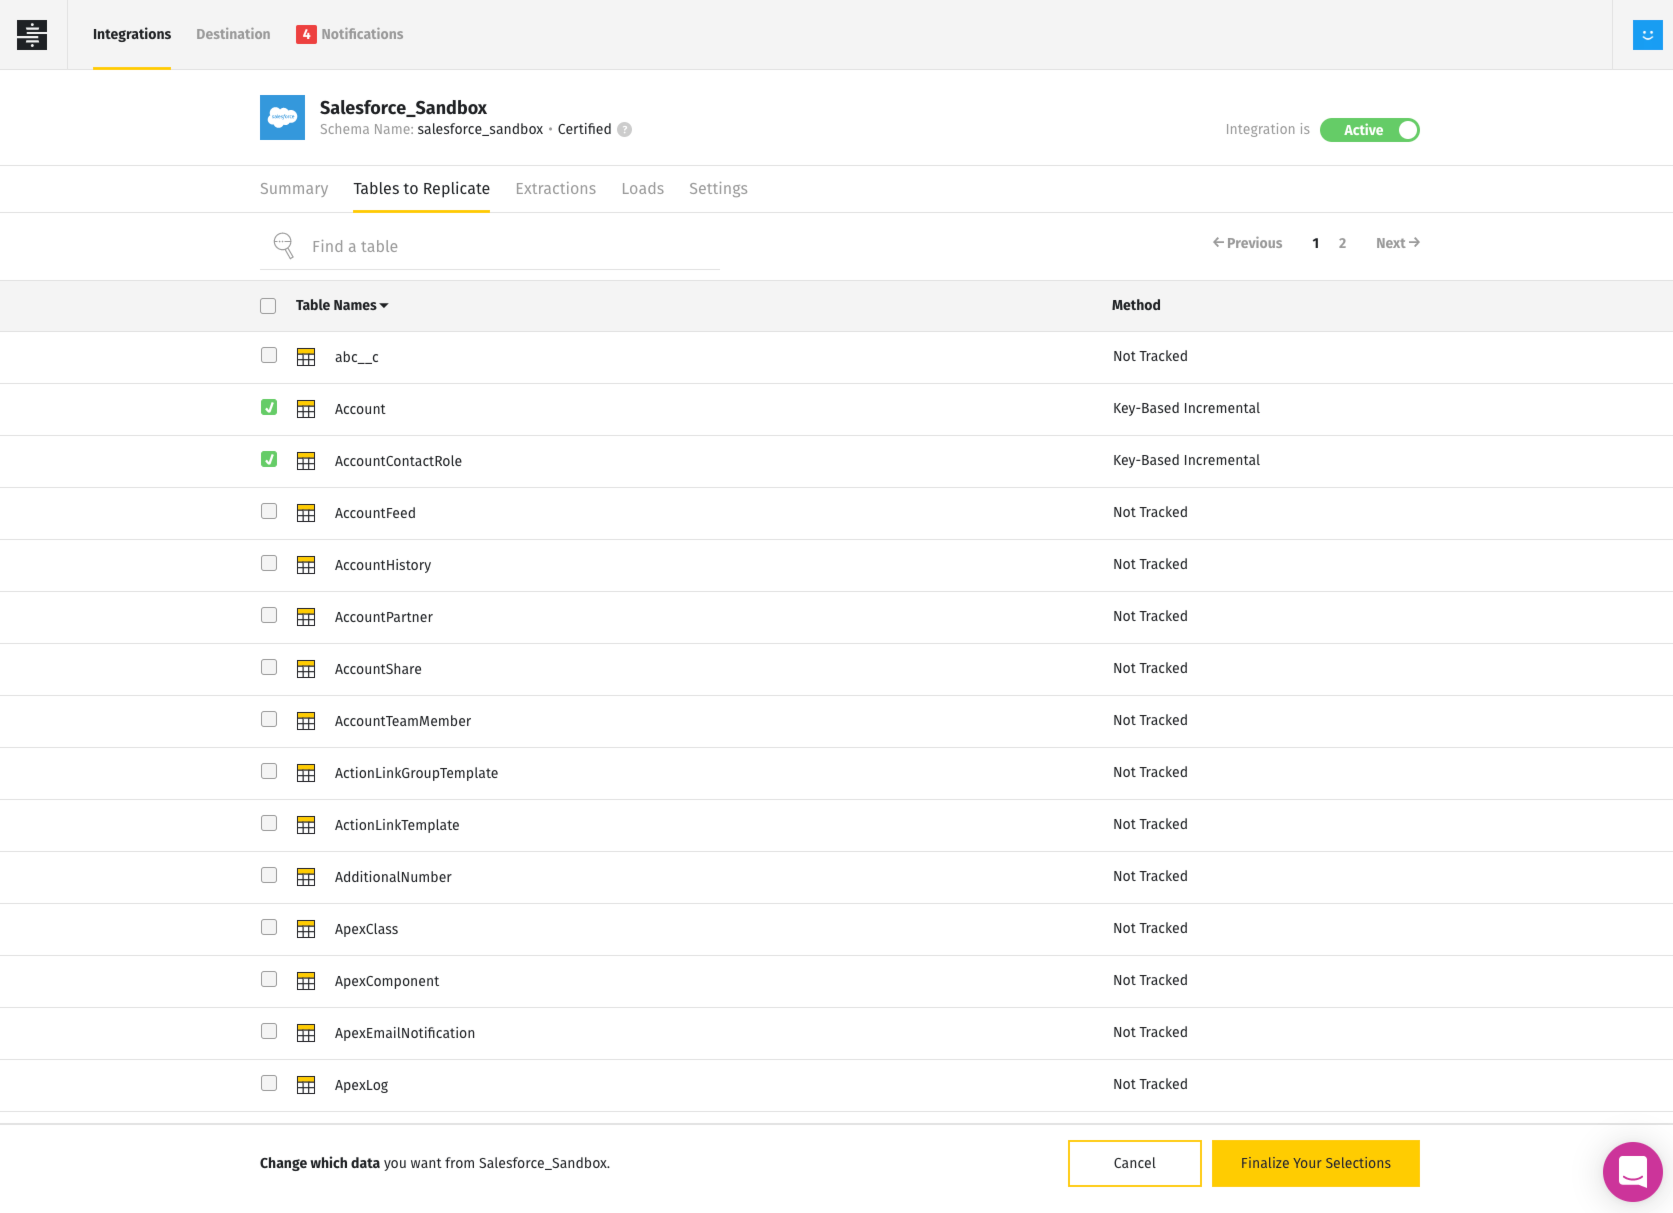
You can click on the table to expand the columns within your table. Click the checkbox next to the table’s name or column’s name to select the ones you’d like to replicate.
Once completed, click the ‘Finalize Your Selections’ button at the bottom of the page. Click on ‘Yes, Continue’ if everything looks correct. Wait until you see the green bar message saying, ‘Your selections have been updated! We’ll use these selections for your next scheduled sync’. This may take a few minutes.
Select your data warehouse
When you have finished setting up your integration in Stitch, the next step is to let Stitch extract the data to a specified data warehouse such as Panoply, Amazon Redshift, Google BigQuery, PostgreSQL, Snowflake and such. For this tutorial, we will be connecting our data to Panoply.
One of the easiest ways to set up a data warehouse is by using Panoply, which you can quickly set up within Stitch.
To do this, or to connect your selected warehouse, click on Destination from the top left menu.
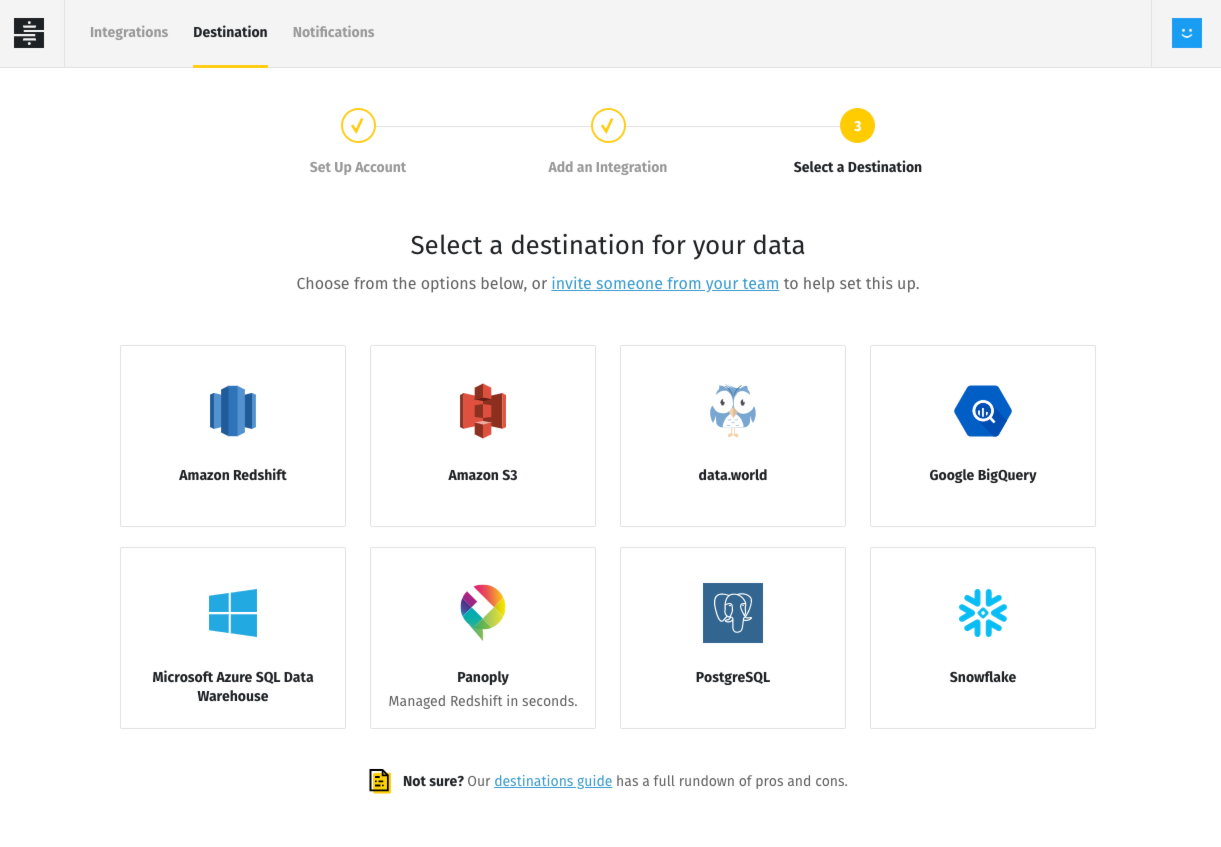
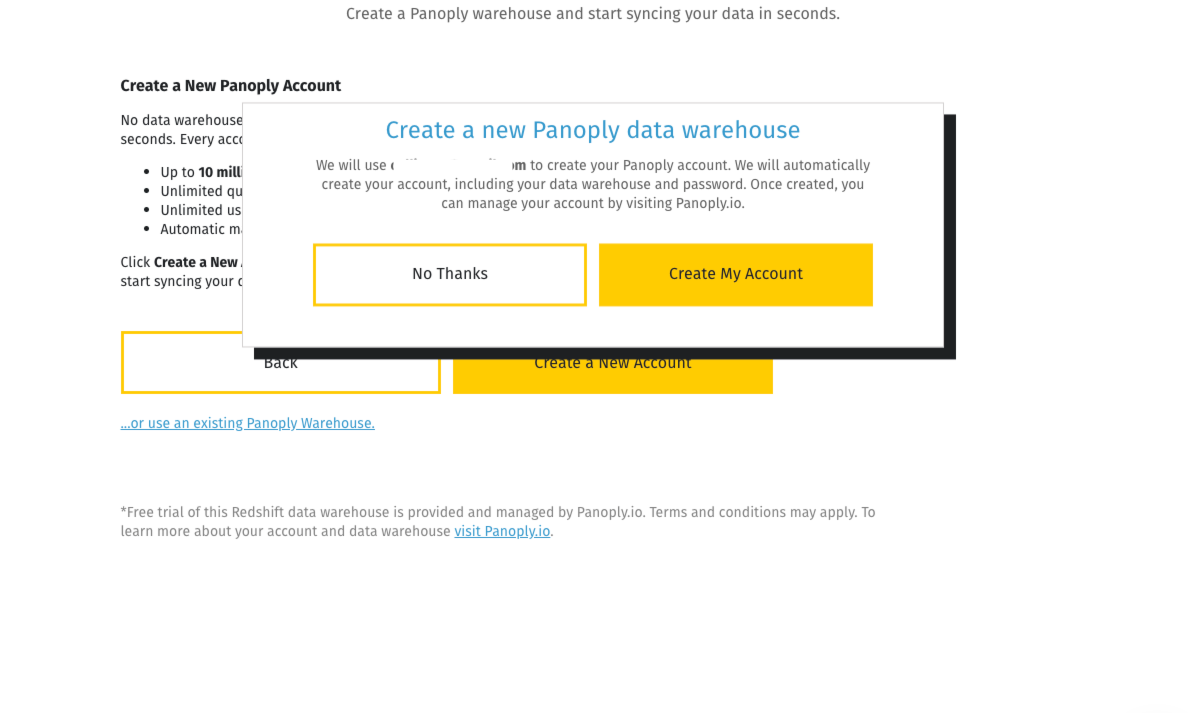
Then, select Panoply and click on ‘Create a New Account’. Follow the prompts to create your account. Stitch will use the email address you logged in with, autogenerate your host, port, a secure password, and set up a database name for your Panoply account.
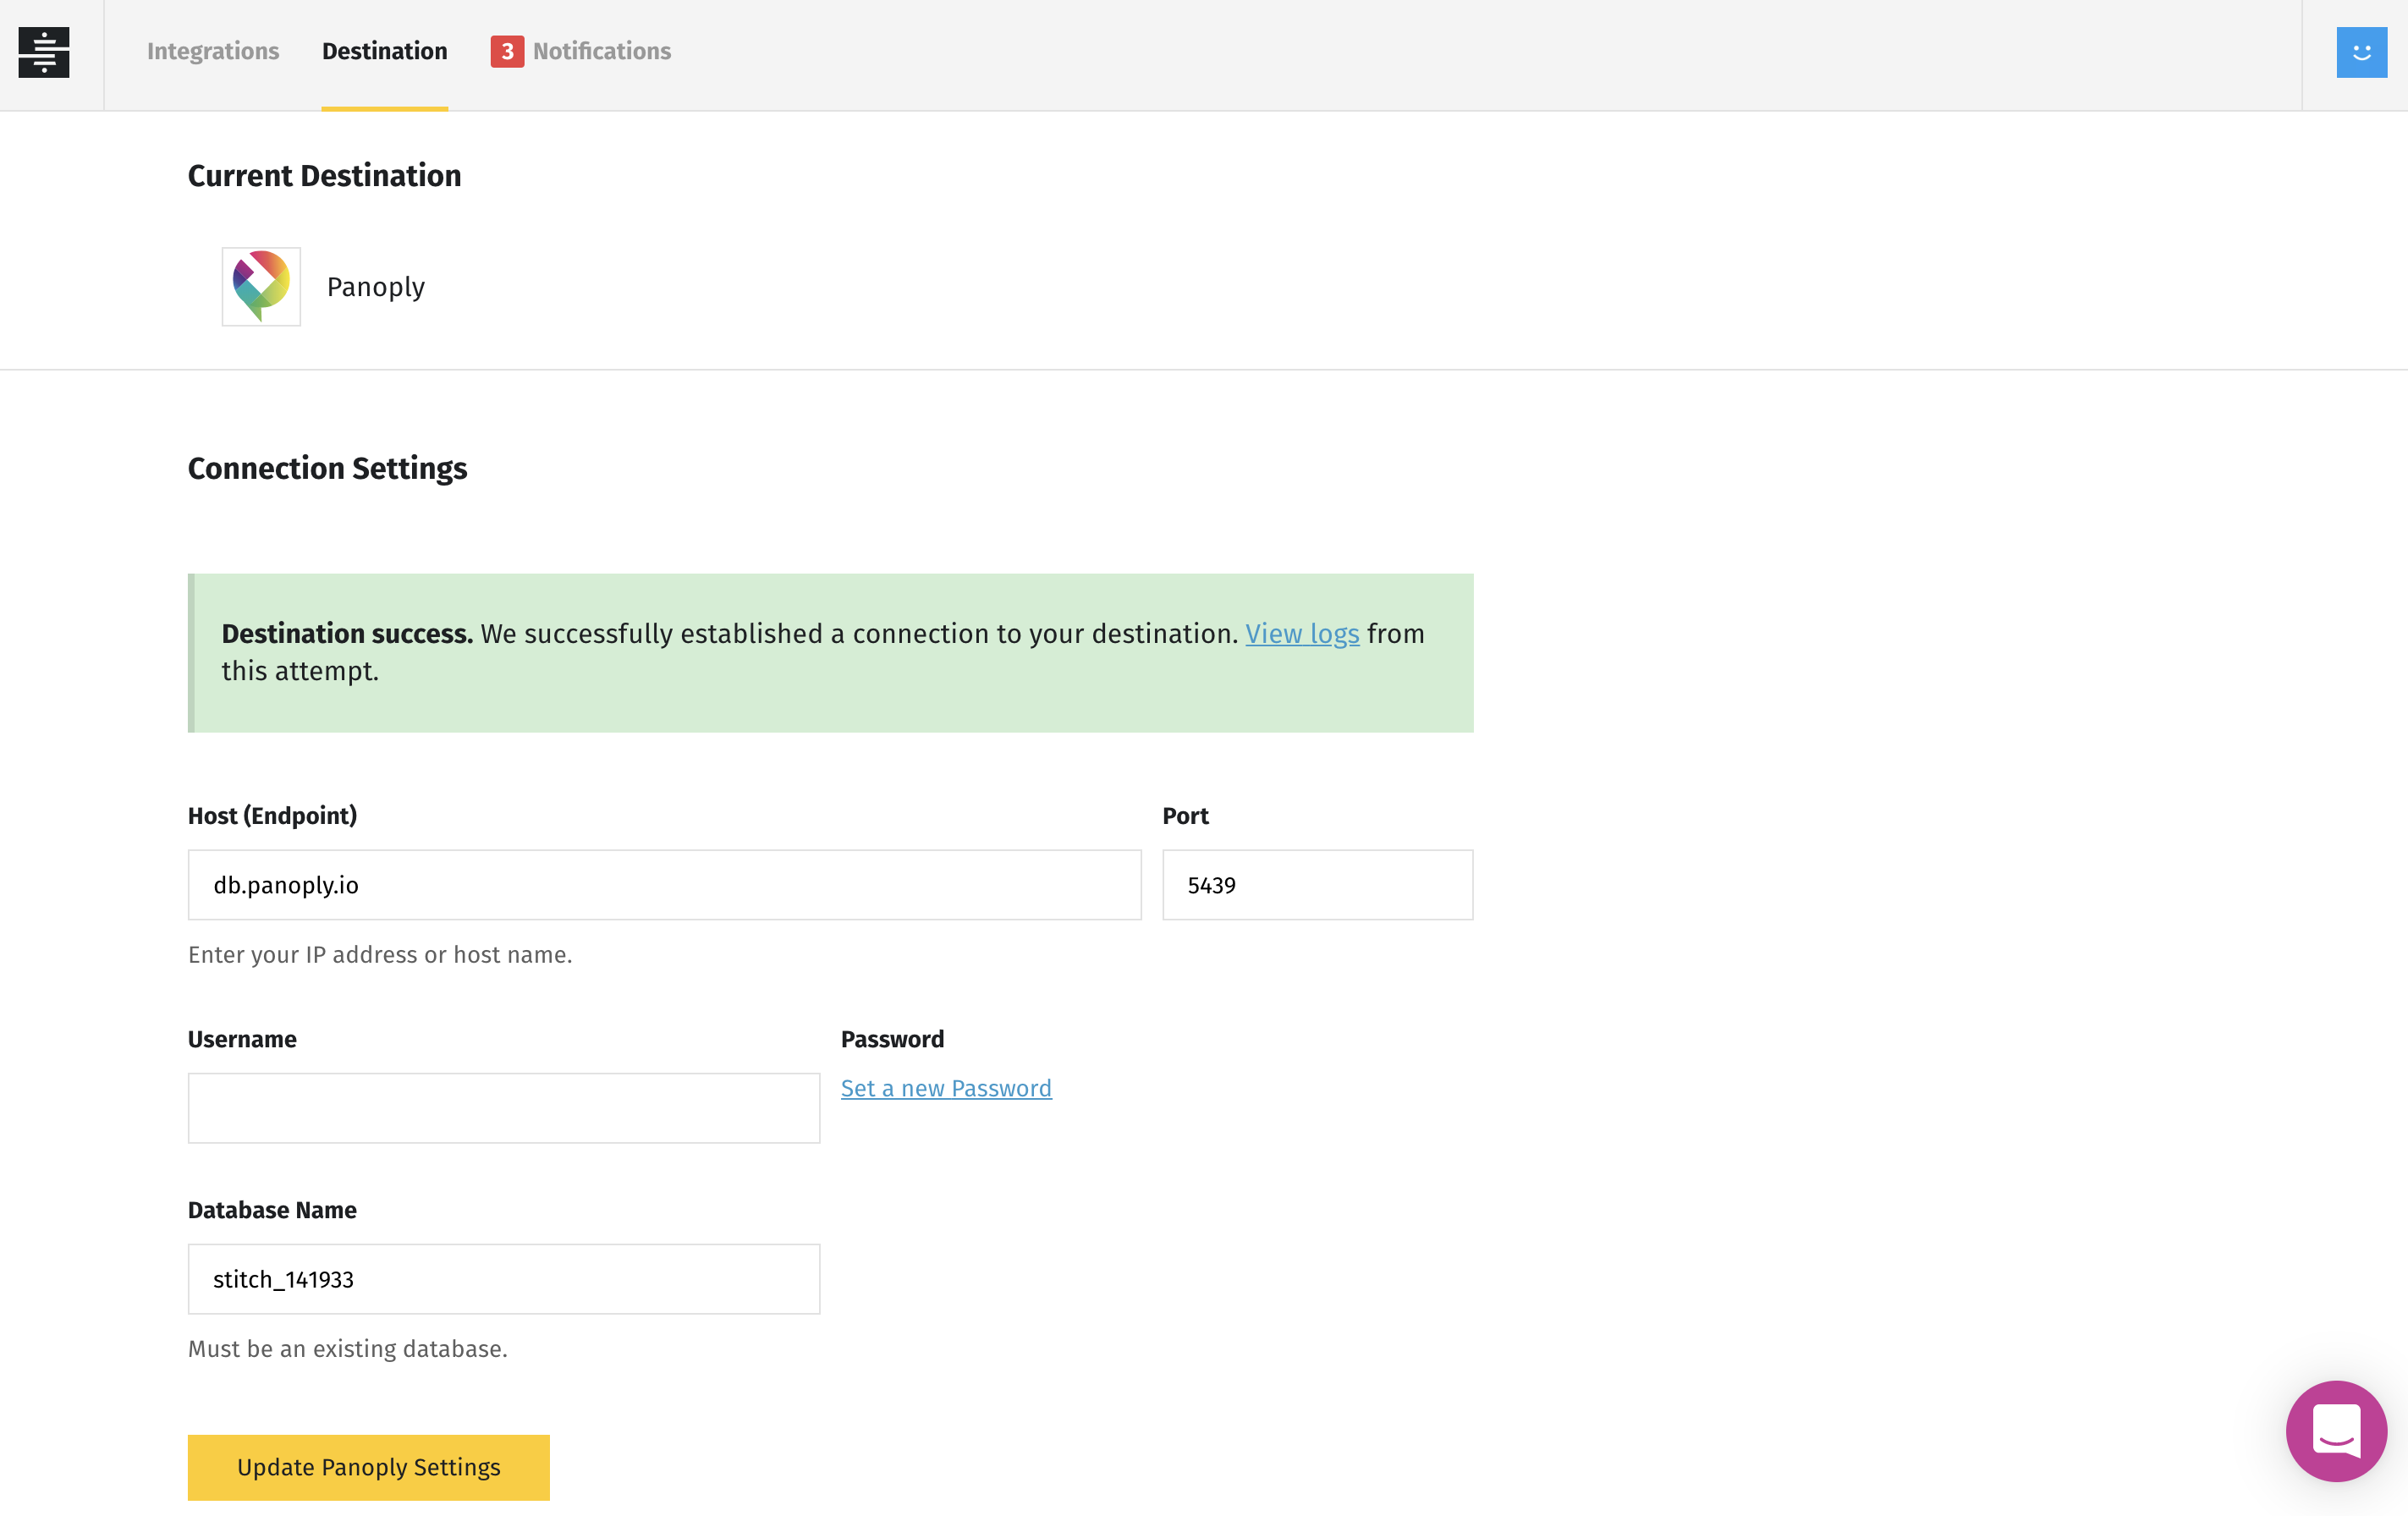
If you already have a Panoply account, you will be prompted to enter your host, port, username, password, and database name to connect it to Stitch. Stitch will check the destination and attempt to establish a connection. If successful, you will see a green box saying ‘Destination Success’.
Connect your data to Chartio
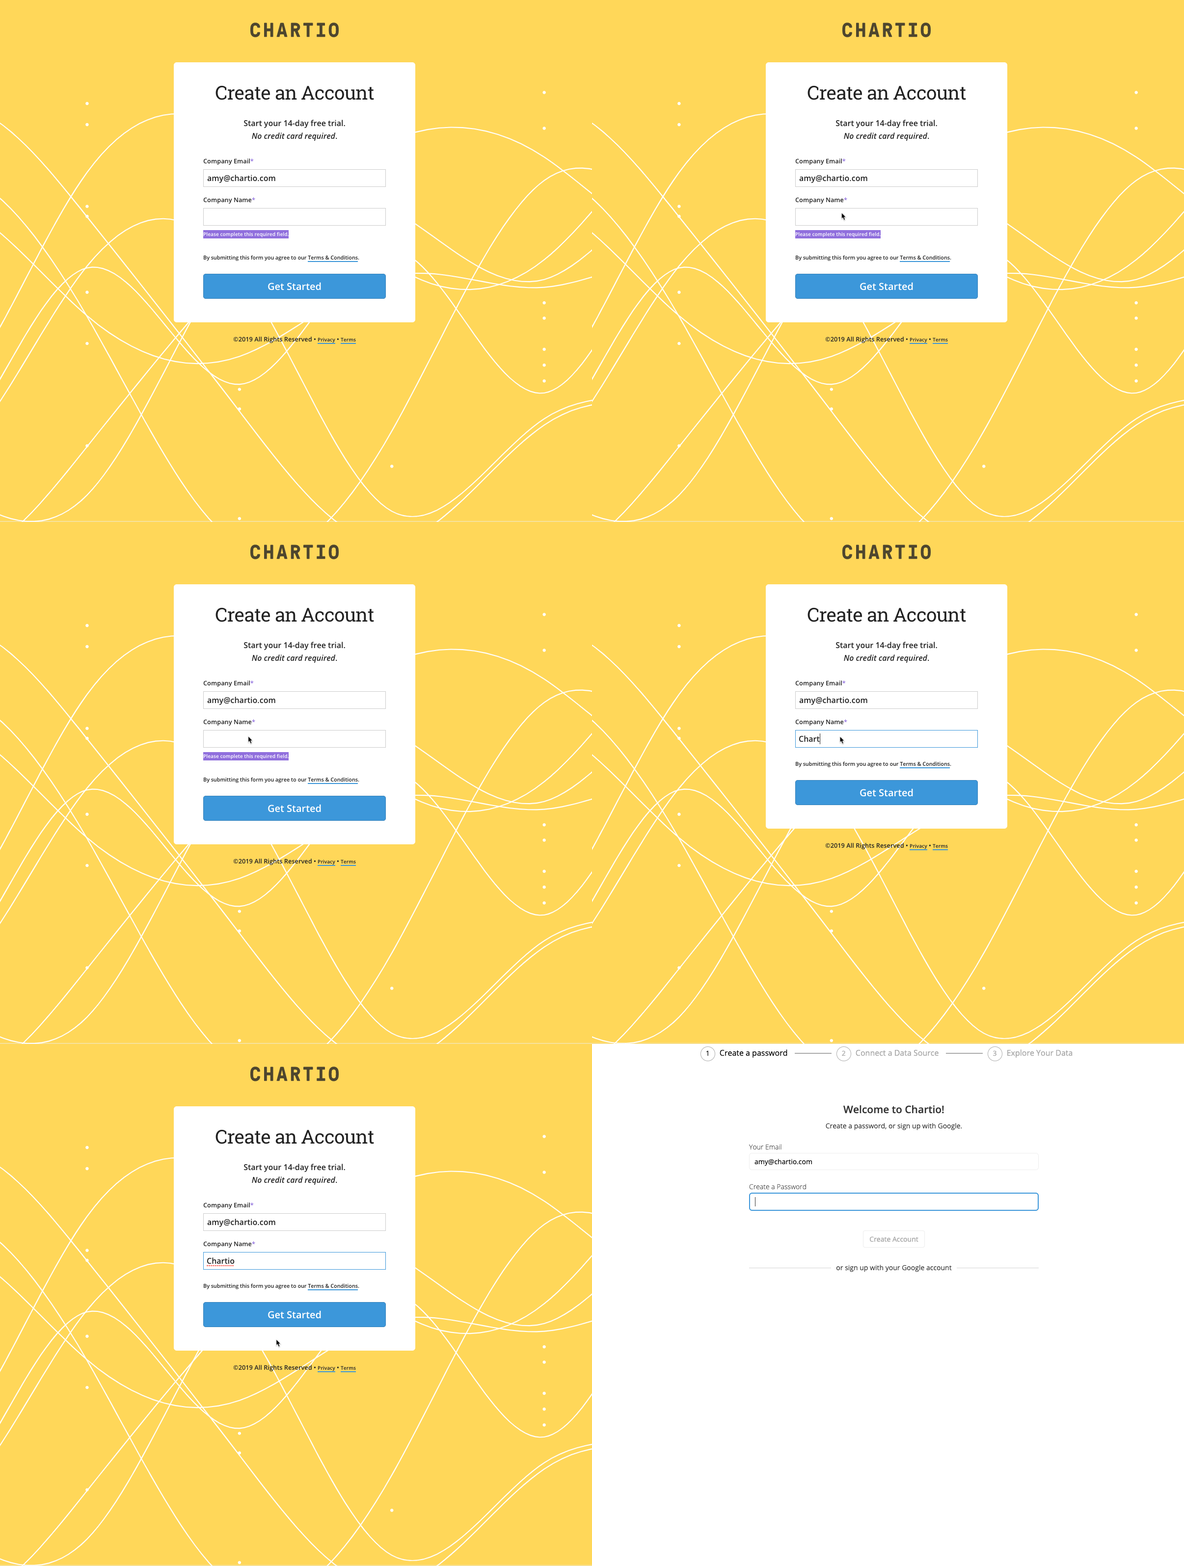
If you don’t already have an account with Chartio, you can sign up for a two week trial at chartio.com/signup. You’ll be prompted to create an account and automatically be directed to the data source connection page.
If you already have a Chartio account set up, click ‘Data Sources’ on the top navigation menu from any page. Then, click the ‘+Add a Data Source’ button on the top right of the page. The many data sources to which you can connect will be listed below.
Click on Panoply and enter the following information: Hostname, Database Port, Database Username, Database Name, and a Data Source Alias.
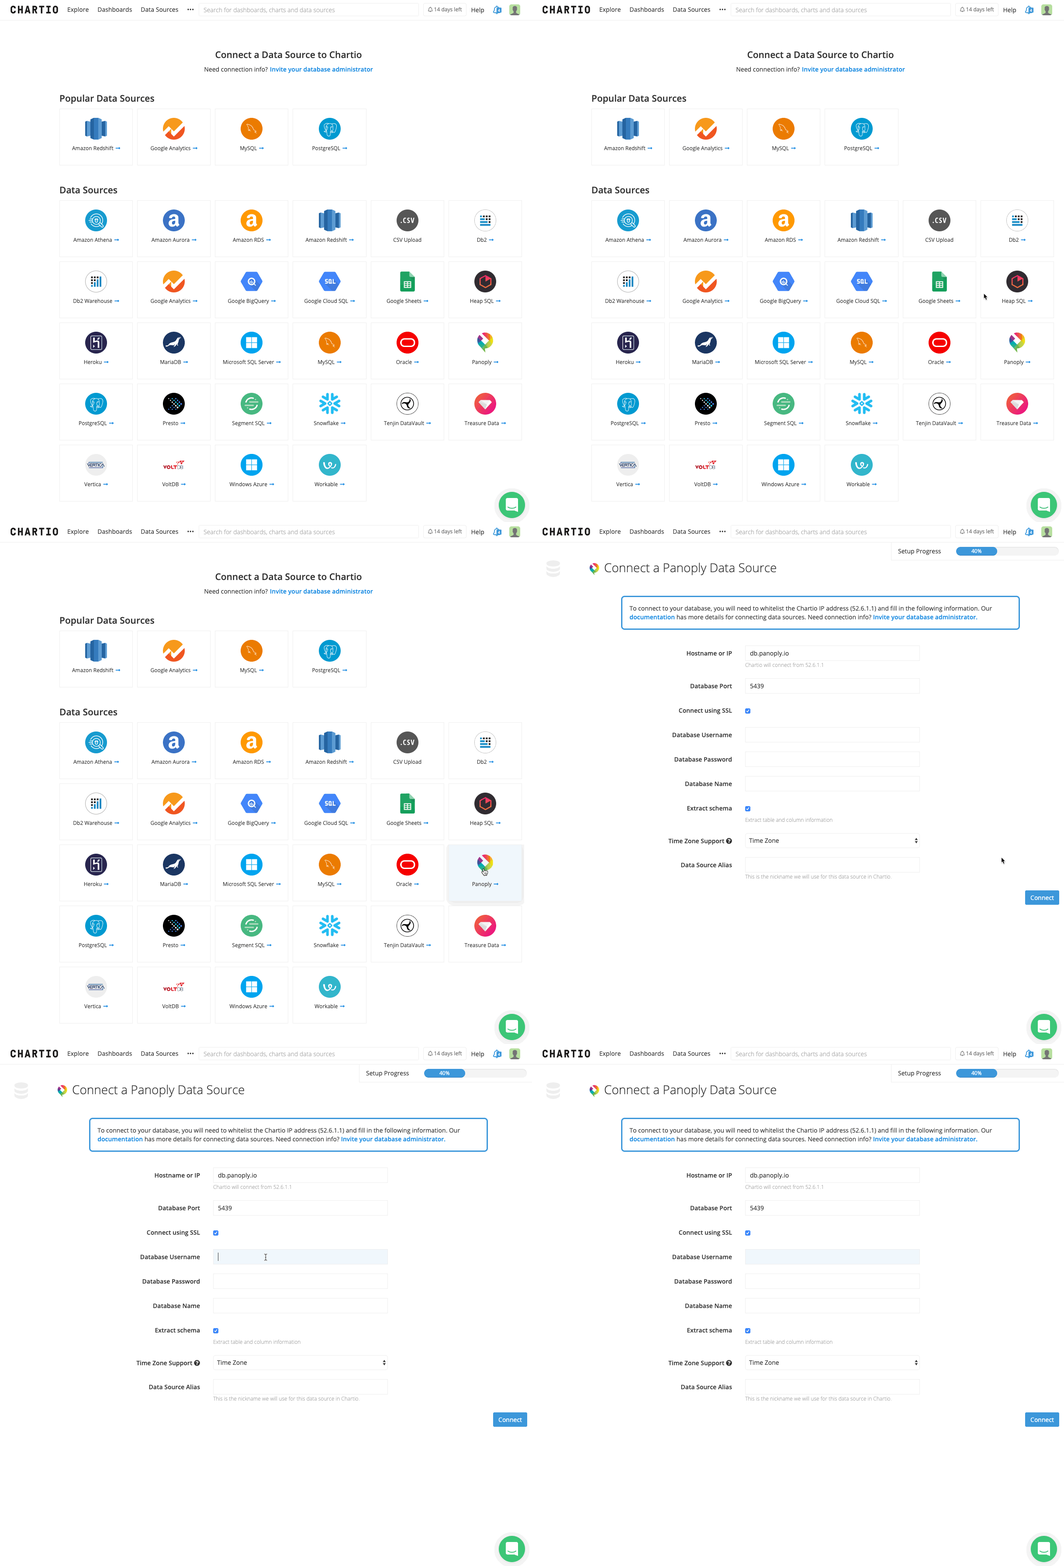
Click ‘Connect’. Your schema will then be loaded into Chartio. This may take a few minutes to complete.
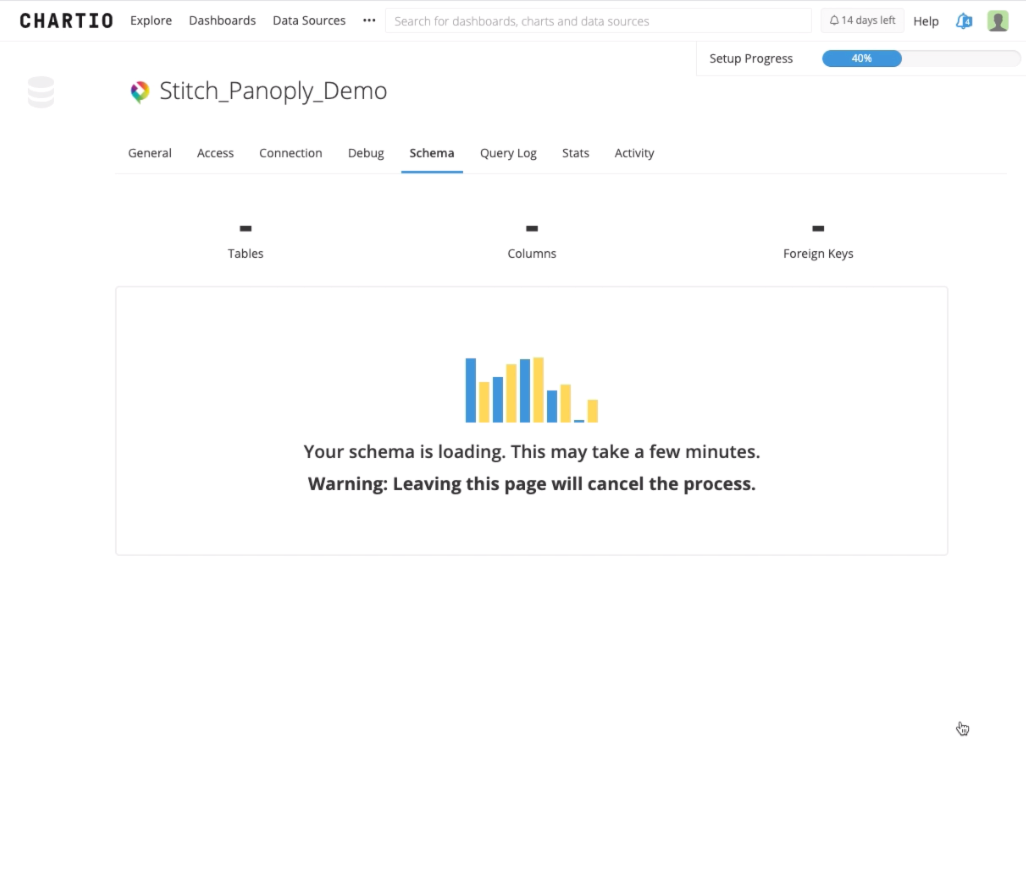
In a few minutes, your schema will load. Once the schema has loaded, you’ll be given the option to include or exclude tables from being imported into Chartio.
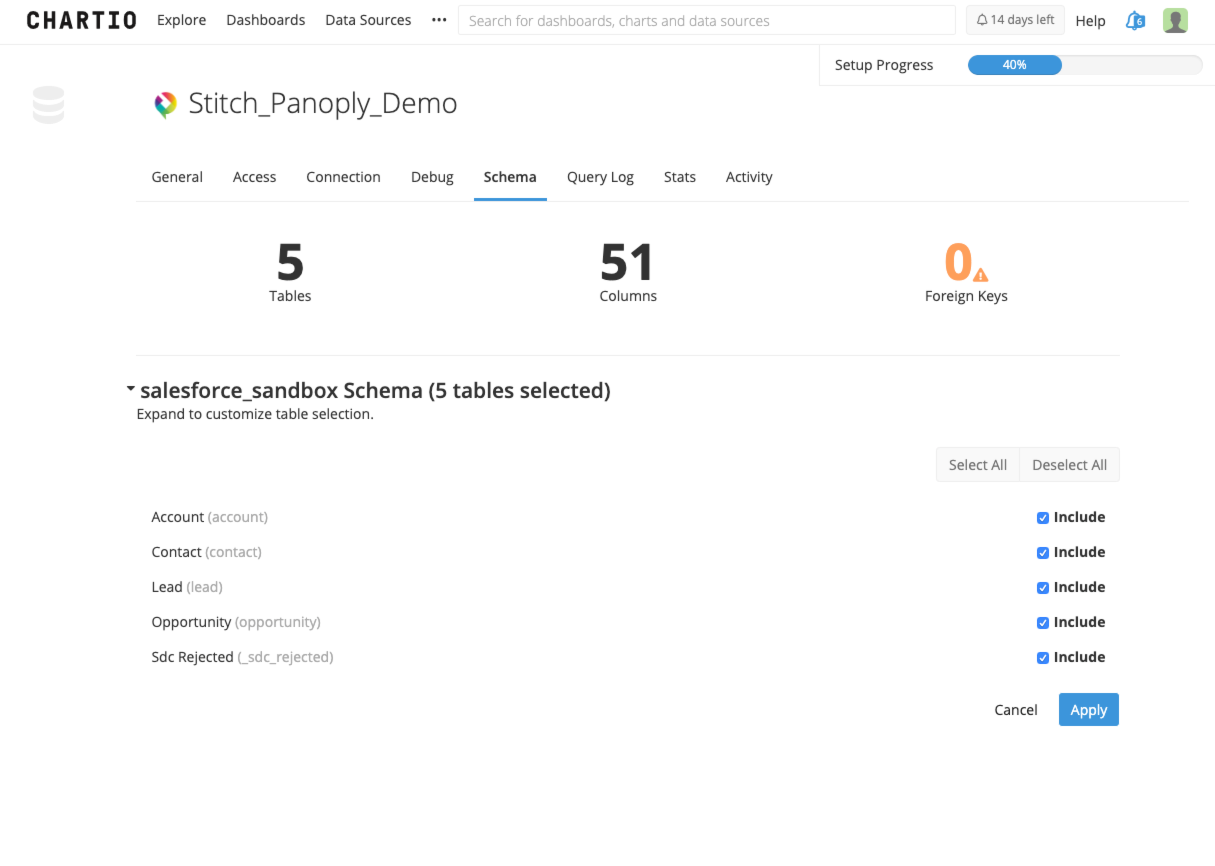
Click ‘Apply’ once you’ve selected all the tables you want to bring in.
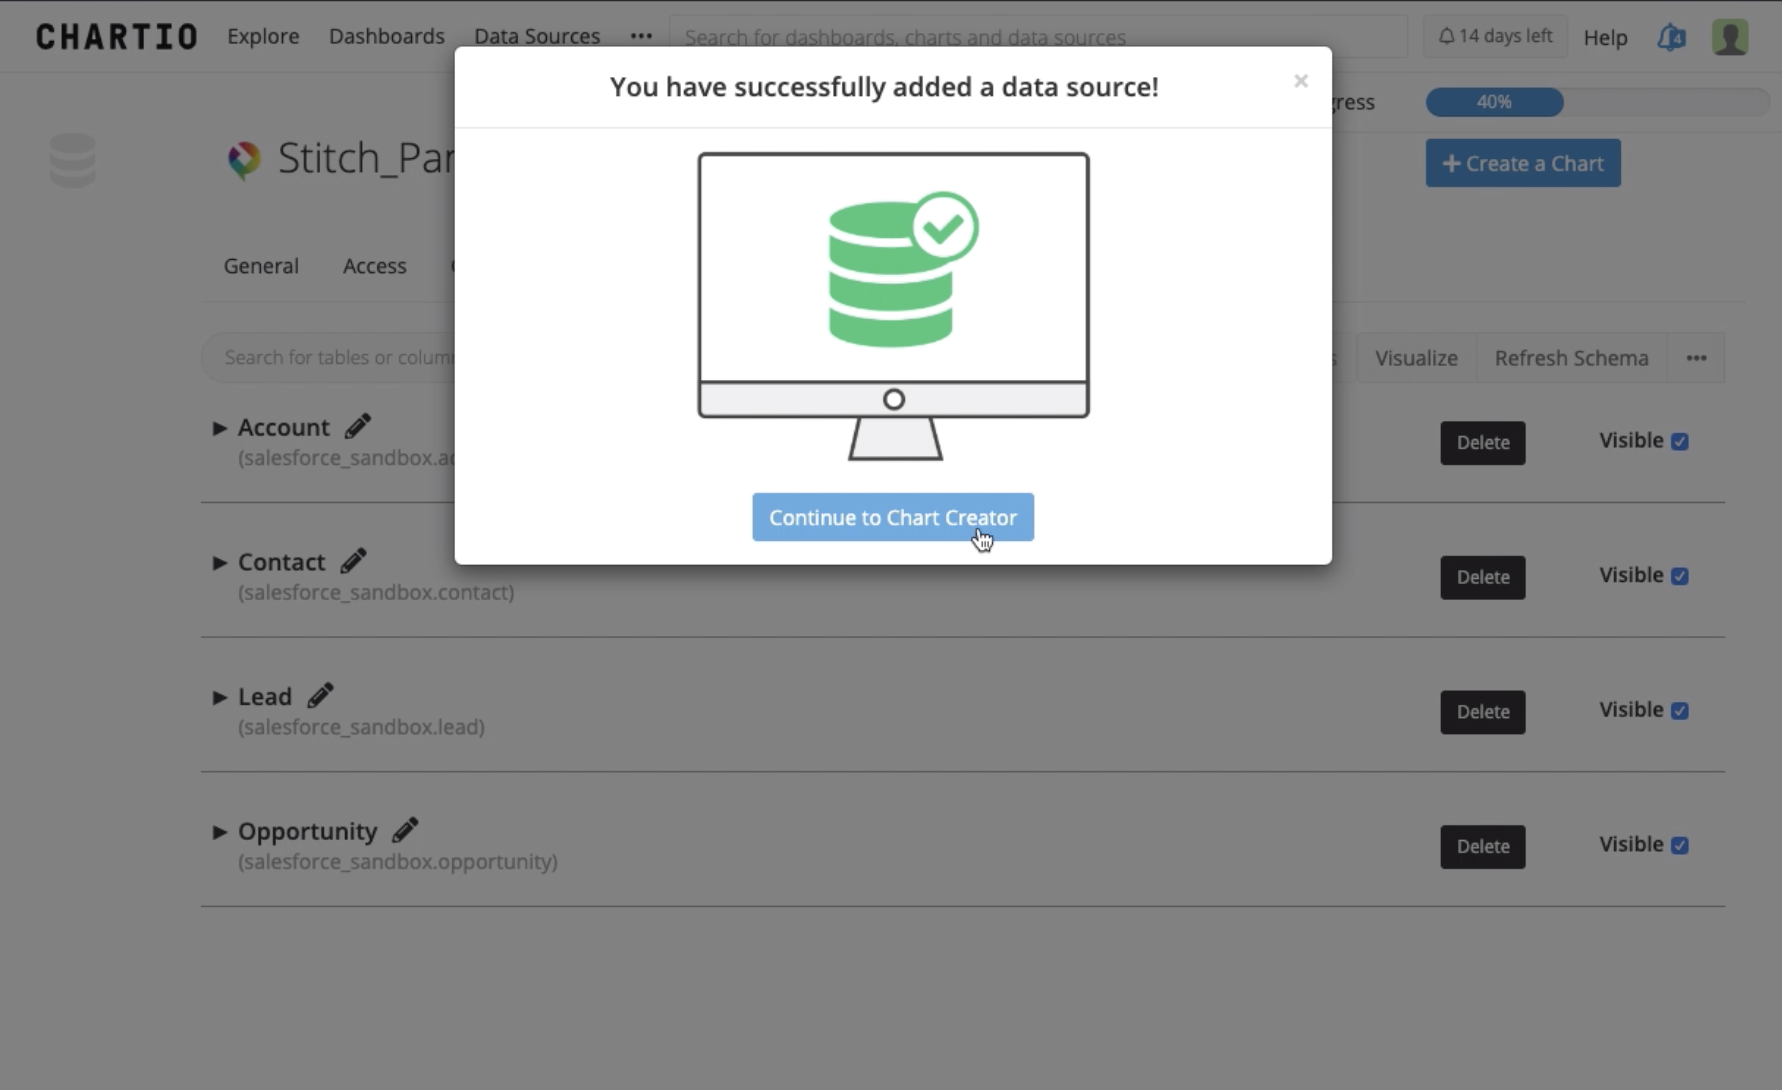
Now you are ready to visualize your data! Check out our documentation on Creating a chart to get started.