Connect to Google Cloud SQL
Check out our step-by-step video showing how to connect your Google Cloud SQL database to Chartio:
1. Allow Chartio’s IP address
Follow the instructions in the Google Cloud SQL section of our documentation for how to allow Chartio’s IP address.
SSL connections in Google Cloud SQL
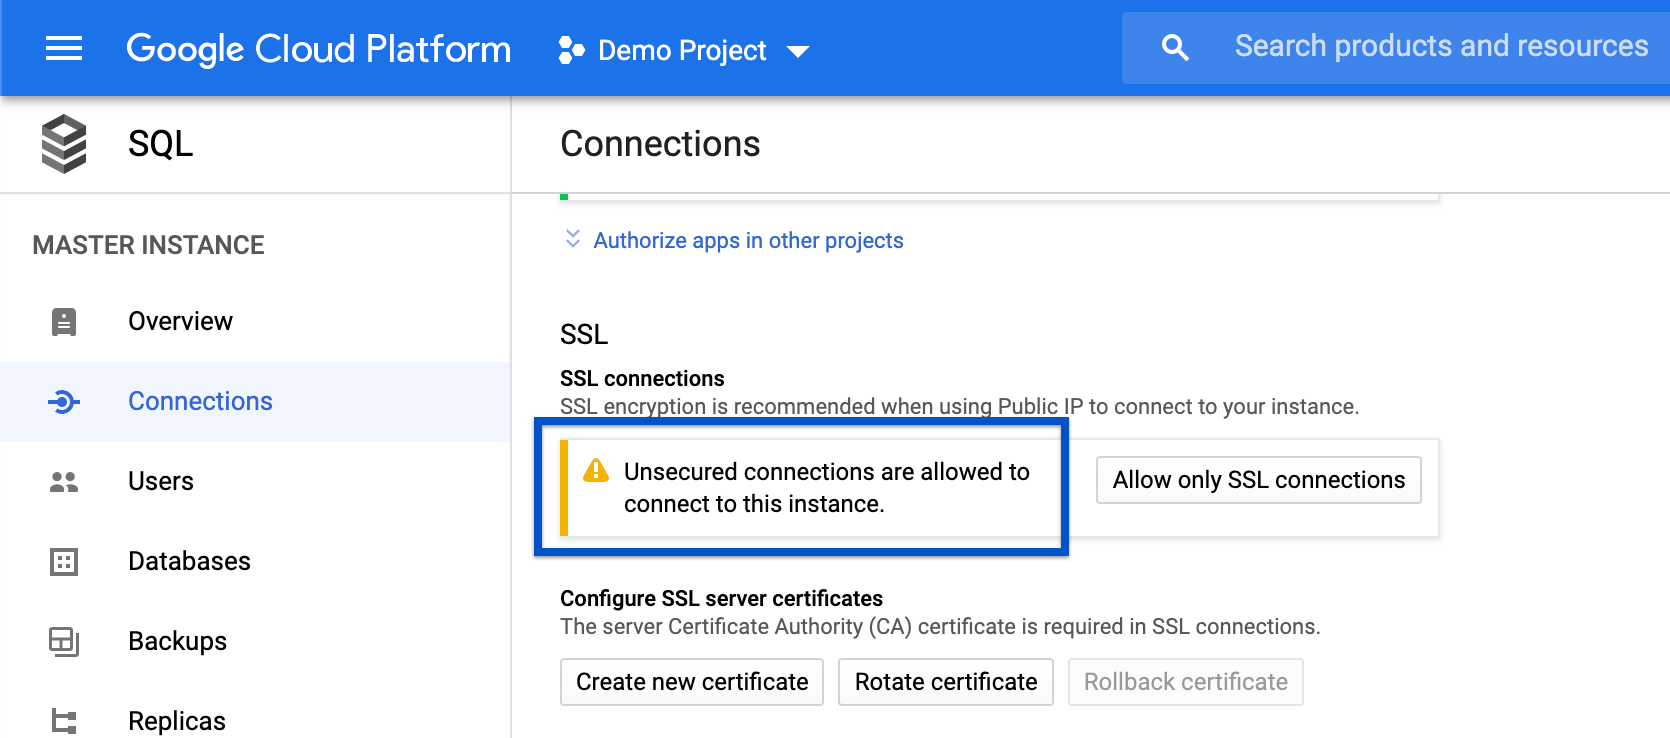
Google Cloud SQL generates a custom certificate authority to generate per-client certificates. However, Chartio doesn’t support configuring client certificates at this time. In order to connect to Google Cloud SQL, you must allow unsecured SSL connections.
This disables Google Cloud SQL from only allowing connections from known client certificates but—if configured properly in Chartio—it still establishes an SSL connection.

2. Create a read-only user
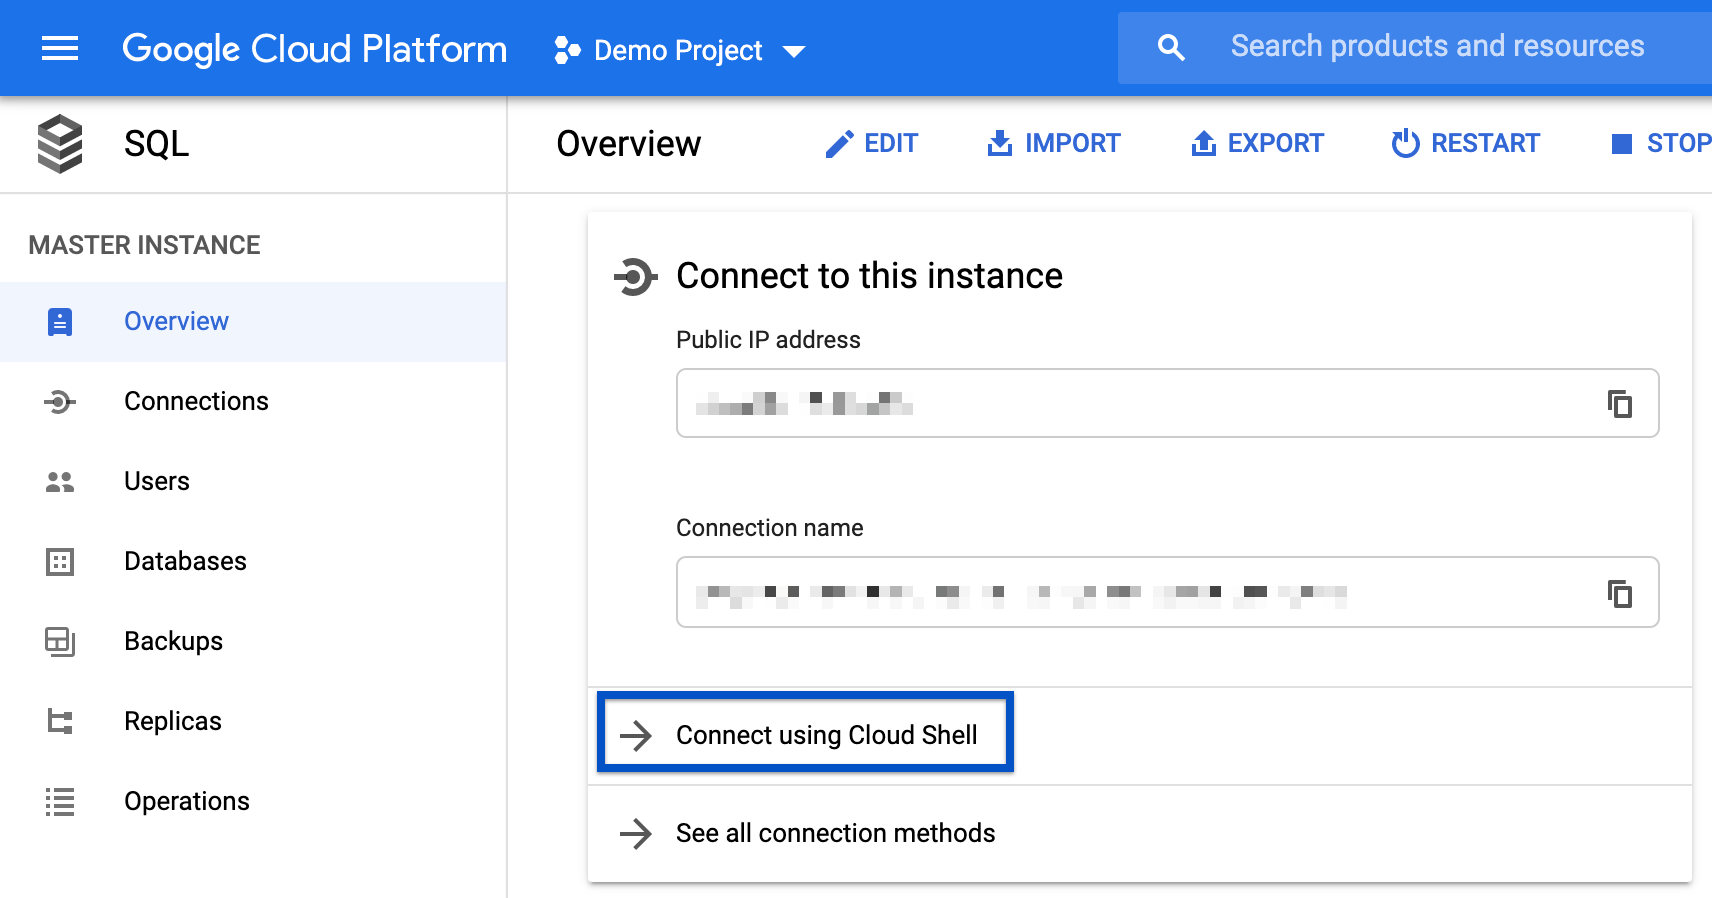
- Open the Google Cloud Platform Console, select the instance you’d like to connect to Chartio, and navigate to the Overview page.
-
Click Connect using Cloud Shell.

-
The terminal should have the command in place for you to run and connect to your instance, but in case it doesn’t, use the following command to connect to your database in the Cloud Shell, replacing
[instance-name]with your Cloud SQL instance and[username]with the name of your main database user:gcloud sql connect [instance-name] --user=[username] --quietIt will prompt you for the user’s password. If successful, you’ll be connected to your instance.

- Depending on the type of database you create (PostgreSQL, or MySQL), follow its respective instructions for creating a read-only database user.
Google Cloud SQL - PostgreSQL
Google Cloud SQL - MySQL
3. Connect Google Cloud SQL to Chartio
After allowing Chartio’s IP address and creating the read-only user, complete the Google Cloud SQL connection form in Chartio.
-
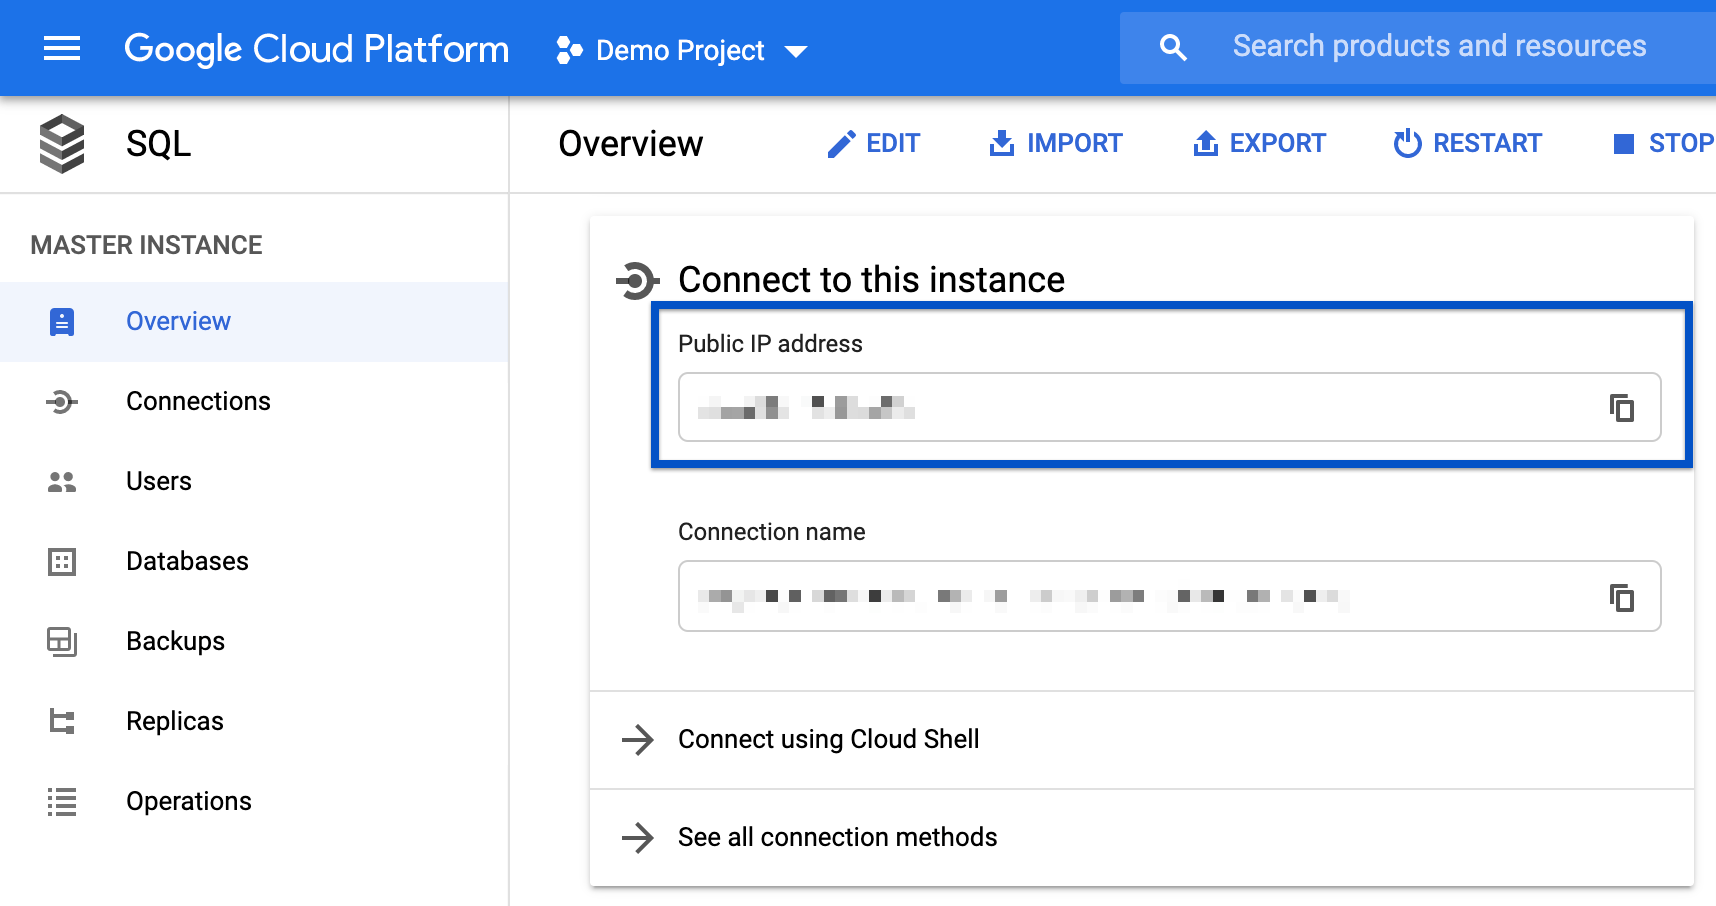
Hostname or IP: You can find your public IP address in the Overview page of the Google Cloud Platform Console.

- Database Engine: Select the underlying database type for your Google Cloud SQL database. The Database Port field automatically updates based on your selection.
- Username: Username of the read-only user you created in Step 2
- User Password: Password of the read-only user you created in Step 2
- Database Name: Name of the Google Cloud SQL database to which your read-only user has access
- Data Source Alias: The name you’ll see for this data source in Chartio